Kitchen cabinet and countertop renovation
This project was relatively simple and pretty affordable. We needed to update the kitchen as much as possible from what it looked like before. We decided to keep it simple and do a few things. Strip the cabinet doors and cabinets themselves, paint the wall, replace the sink and install a back splash
Tools used: Table saw | Power Drill | Hammer | Palm Sander | JigSaw | Paint Brush and Roller |
Also: 80 and 150 sheets of Sandpaper | Paint Stripping agent | Mortar mix | Grout |

This is pretty much what it looked like before. Standard cabinets with caked on paint with blue Formica countertop. (pretty gross) . I removed all of the cabinet doors and stripped of the paint. I purchased the paint stripping product at Home depot.

I stripped off the paint until they looked like the door on the far right. This was using the stripping chemical as well as sanding it down to a smooth natural finish.

Here is a kinf of progressive shot of removing the paint and crud. ( it was quite a bit of work, there were many layers of paint ).

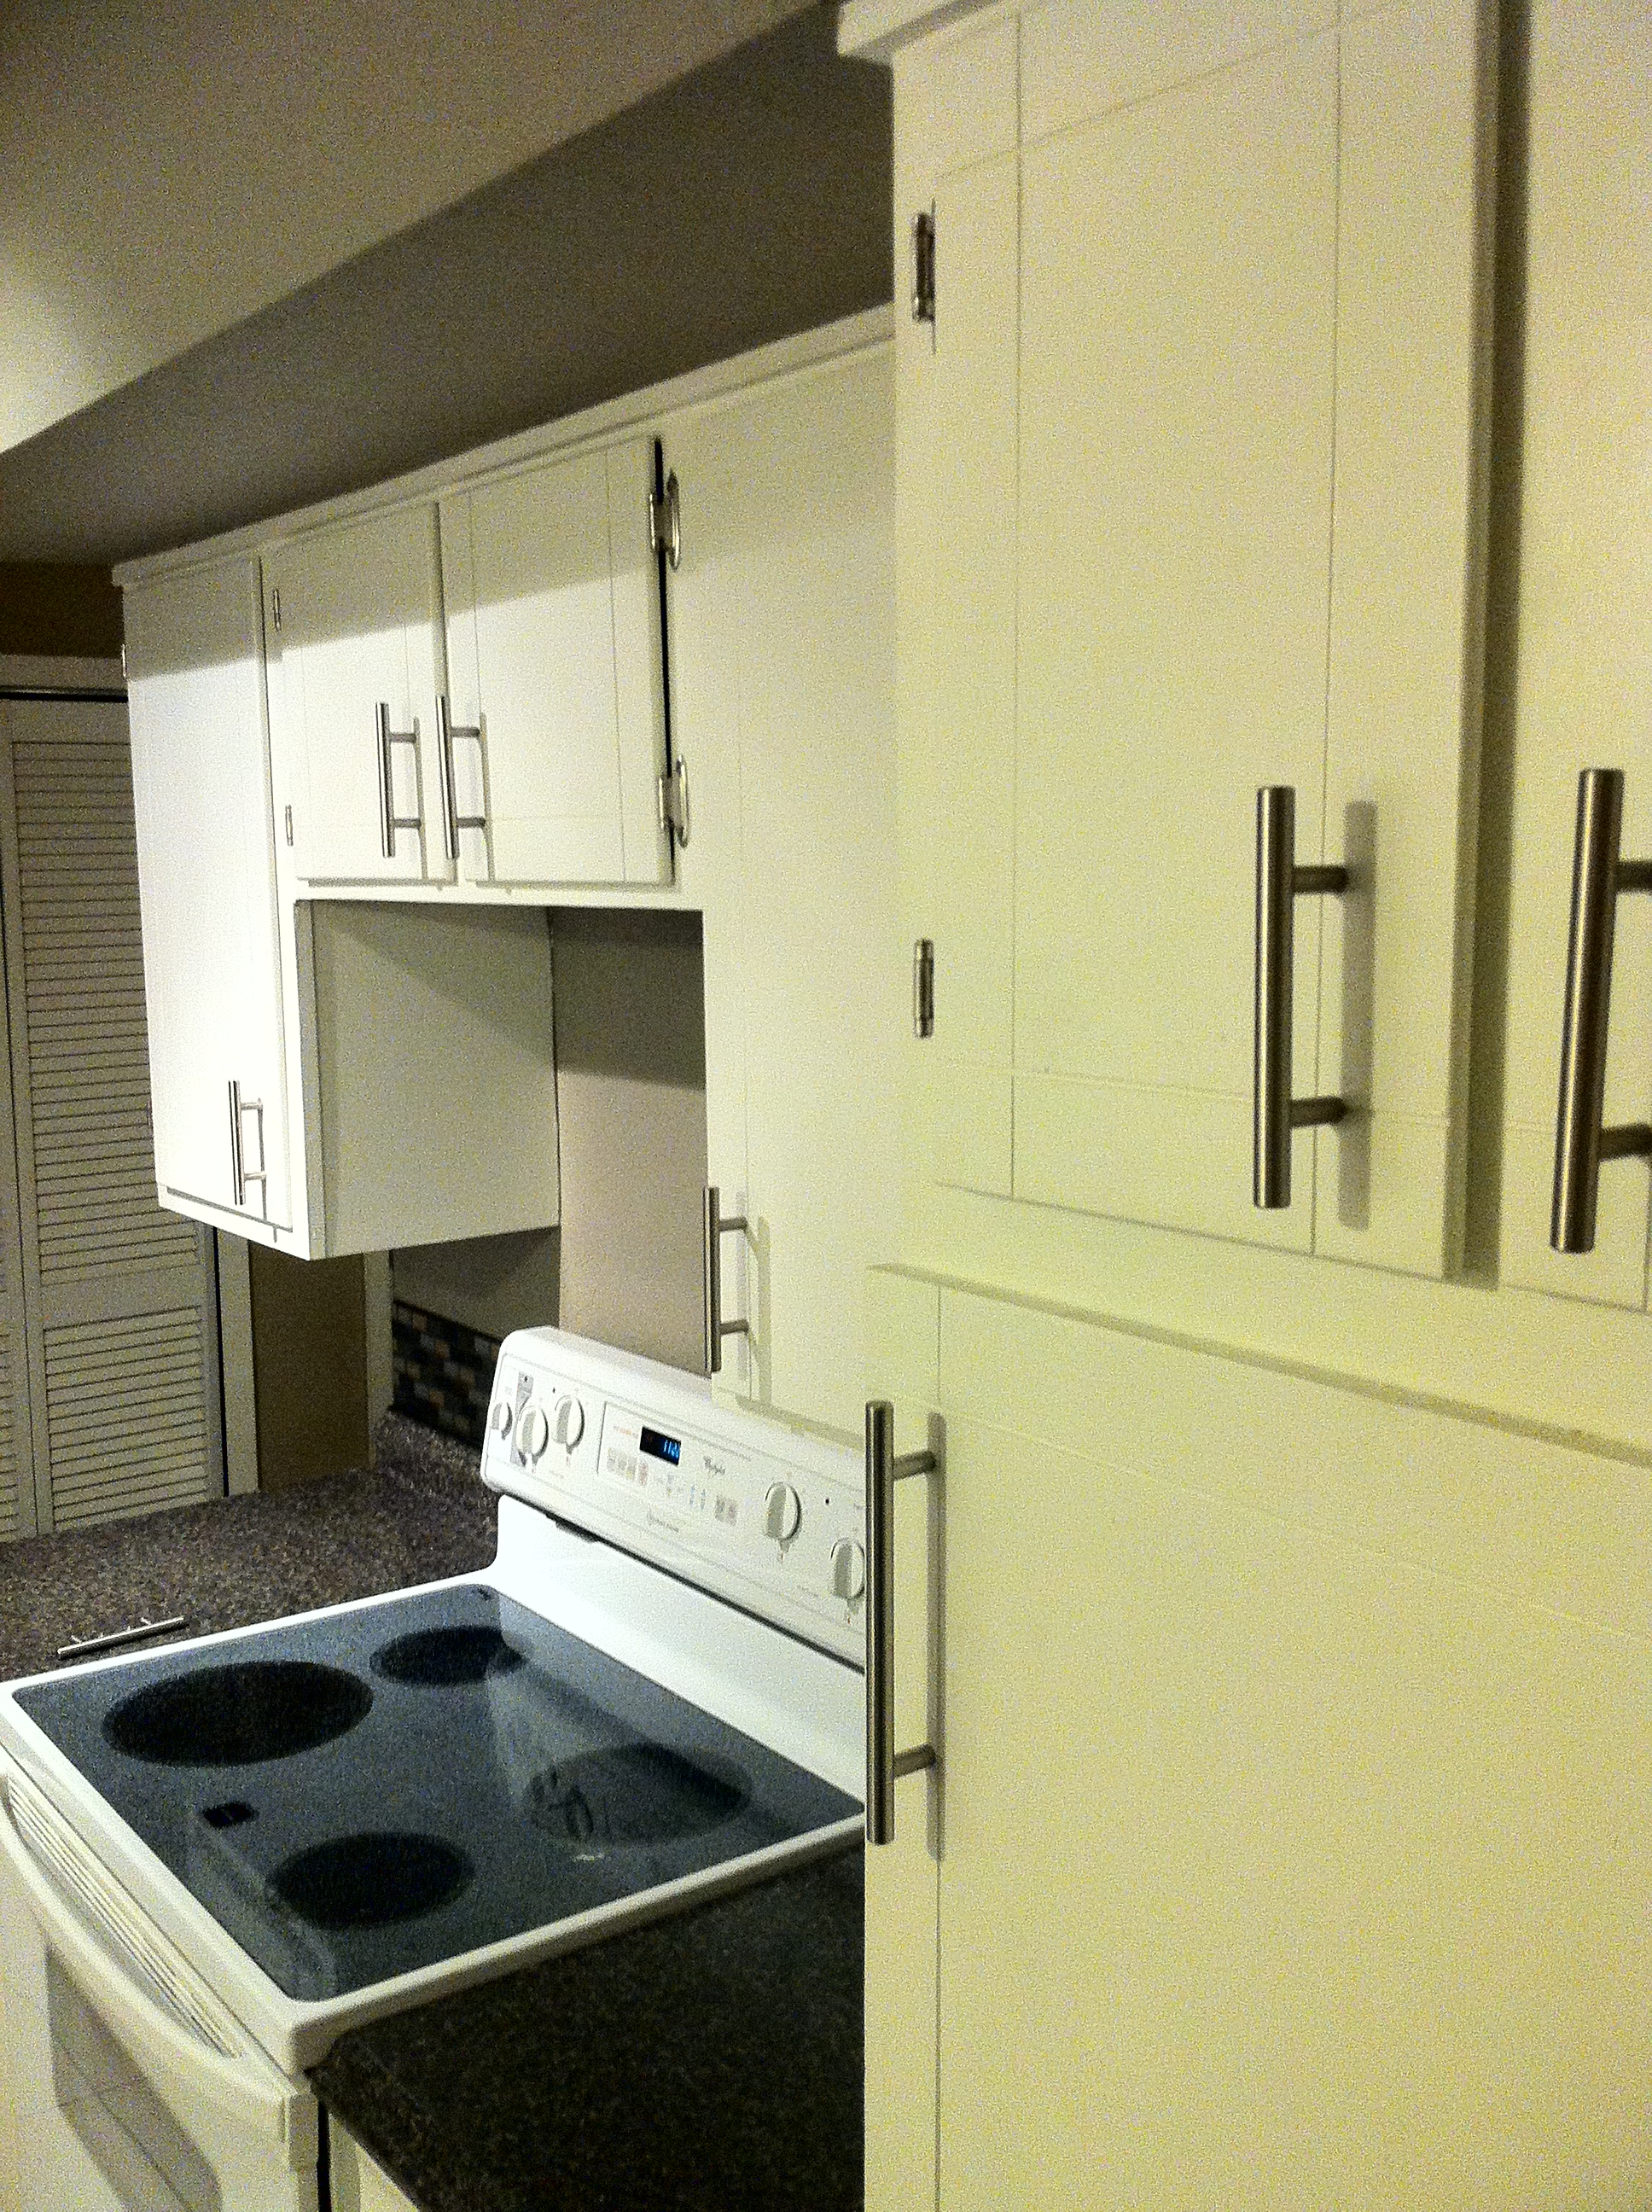
Here is kind of the most important part. I didnt want to replace the cabinet doors but the once in place were very dull. I decided I would try and “simulate” a design on it by simply using my table saw. I set up my saw blade to come up about 1/8 of an inch. ( you can set to whatever depth youd prefer, just dont pass the width of the door). I set it at 2″ and ran the cabinet doors face down across the blade to give it the effect above.

Here is a picture after my test cabinet door was painted. I was very happy with the end result so I left the table saw blade width at 2″ and ran the rest of my cabinet doors through!

I also sanded down all of the drawers and cabinet faces themselves.

Removed the old counter top and sanded down the remaining parts.

I ran the rest of the cabinet doors through the table saw.

I mocked up the sink cutout included with the product and cut it using my jigsaw.

Here is what the cutout looked afterwards. I had to make minor cut adjustments to have the sink sit perfectly in place.

Here is a pic with the sink in place along with some of the cabinet doors after the rip and paint. I also started adding some of the cabinet hardware.